ASKED BY YOU: contouring + lips
6:17:00 PMToday I received an ask on how I contour and do my lips. Straight away I will just start by saying... I AM NO BEAUTY GURU and I am definitely not inclined in the makeup department! Now, I don't usually contour on a regular basis.. only for special events/parties/etc.. Otherwise it looks a little bit too much on me for daily casual use. My two favourite aspects of makeup - contouring and anything to do with lips. Keep reading on below for a step by step photo tutorial!
Here are the contouring and lip products I use:

The first thing I like to do is put on Dermalogica's Active Moisture moisturizer, before anything else. That way, the foundation/powder/whatever you choose to put on next doesn't interfere with dry skin and it also glides a little easier.
*** USUALLY AT THIS STAGE A PRIMER OR FOUNDATION WOULD IDEALLY GO ON NEXT - HOWEVER, I chose to skip it for time's sake. Go ahead and apply foundation... I find contouring looks better on a layer of foundation.
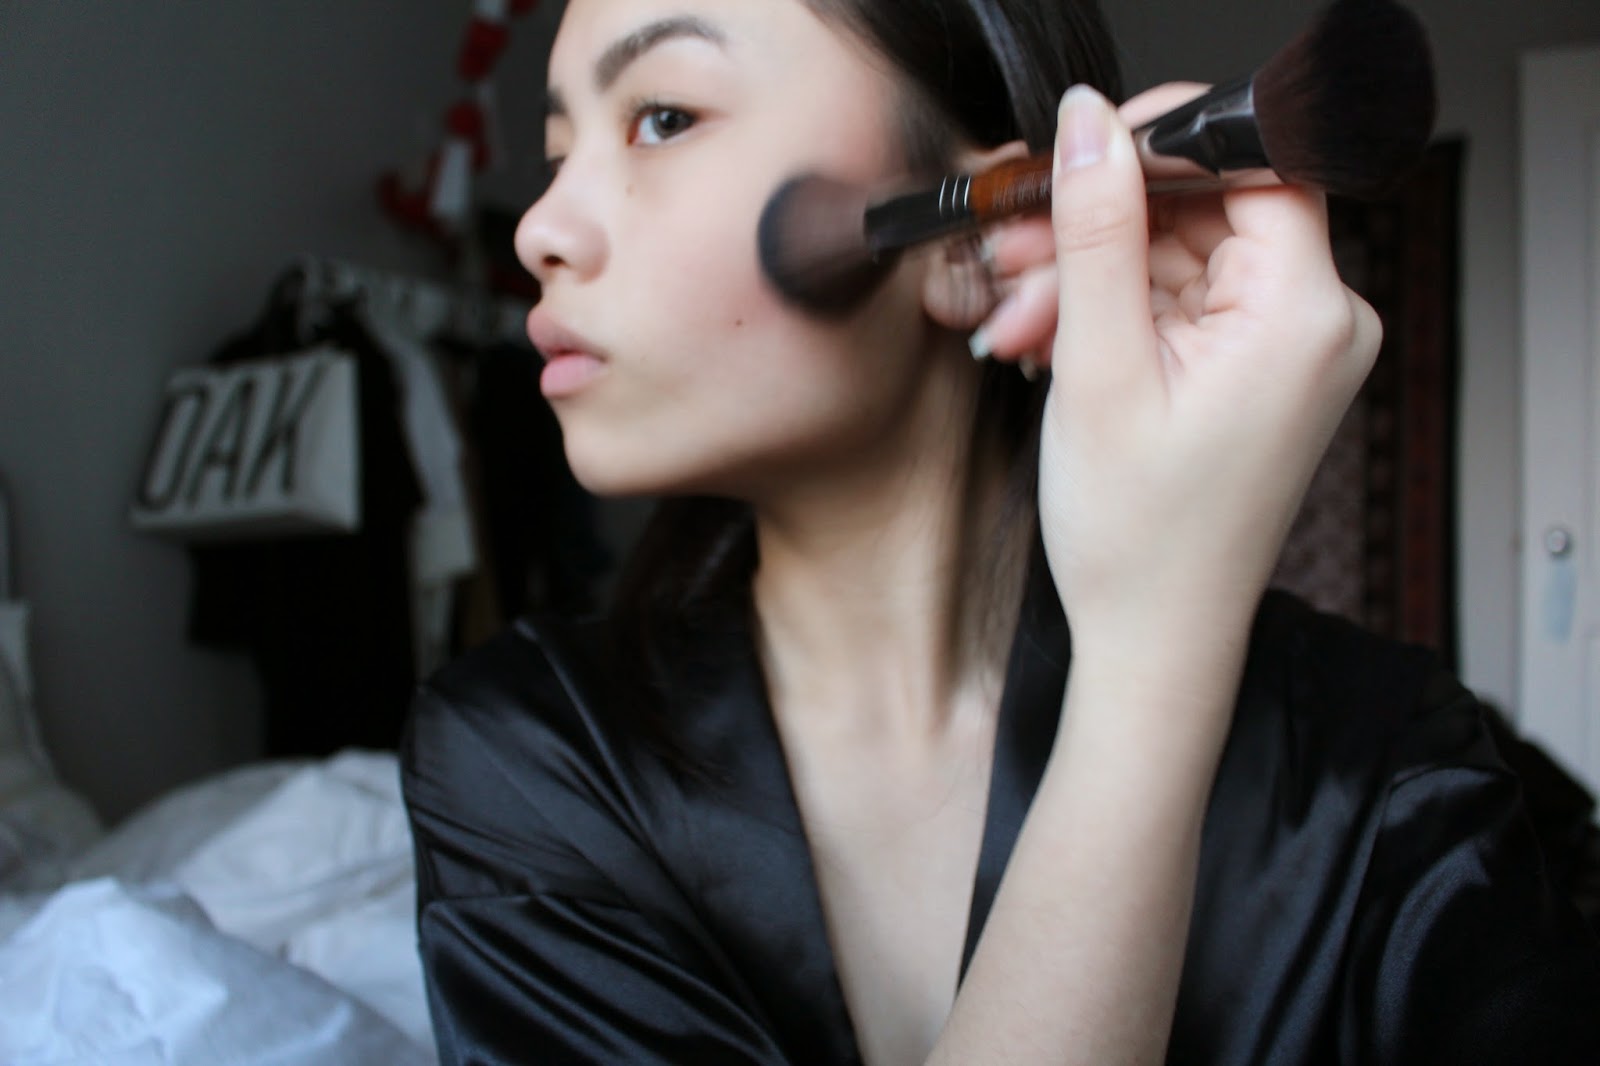
You're going to take the skinny end of the double sided brush and dab it lightly in the darker shade of powder. A LITTLE GOES A LONG WAY, emphasis on that. YOU DO NOT WANT EVIDENT BROWN STREAKS ON YOUR CHEEK! After you've done so, suck your cheeks in (or do the fishy face haha) and apply the powder starting from the top of your cheekbones and in circular motion, move down until where you desire.
At this point, you should be seeing some of your cheekbone features sharpening up. I like to put a little on my jawline to emphasize the shadow a bit.
Now you are going to go ahead and use the opposite side of the brush (the bigger side) and the lighter powder in the contouring kit to "highlight" or "lighten" beside where you applied the darker shade. Blend blend blend it very well to make sure that the contour you applied does not look like a harsh brown line on your face! That would be strange.
Here's the finished product - softly contoured, but not too evident.
Onto lips now! Firstly, like moisturizing your face, you must moisturize your lips with some sort of lip balm. Like how foundation will glide on easier with facial moisturizer, lip colour also will do the same with a little help from any lip aid you have handy. I use mint EOS lip balm because if you know me, I love all things mint flavoured (chocolate, ice cream, cookies mmmmm). Feel free to use whatever you have laying around.
Yes, I know. My EOS is practically dead.
Next, take your sharpened lip product.. I use Makeup Forever's N51 lip liner because it looks the most neutral and natural out of all the colours I own. Carefully start by lining your cupids bow then work your way down until you achieve the shape you want.
After lining the outsides, fill in the rest of your lips.
If you like the matte look.. This is your final product!
If you aren't satisfied with the matte look, a little lip gloss might do the trick. I like to apply Makeup Forever's Glossy Full lip gloss on the inner lip because it gives a bigger/better pout. Take a little lip gloss on the tip of your finger and carefully dab it on.
FINISHED PRODUCT w CONTOUR AND LIPS:
Thanks for requesting! x
lj


2 comments
Hey girl! What foundation do you use?
ReplyDeleteHey Stephanie! I'm not actually wearing any in the photos above, but if/when I do it's usually Makeup Forever's HD Invisible Cover Foundation - around shade 120 applied with a 108 Large Foundation Brush!
Delete